Project Mili videoclip – Mirror Mirror
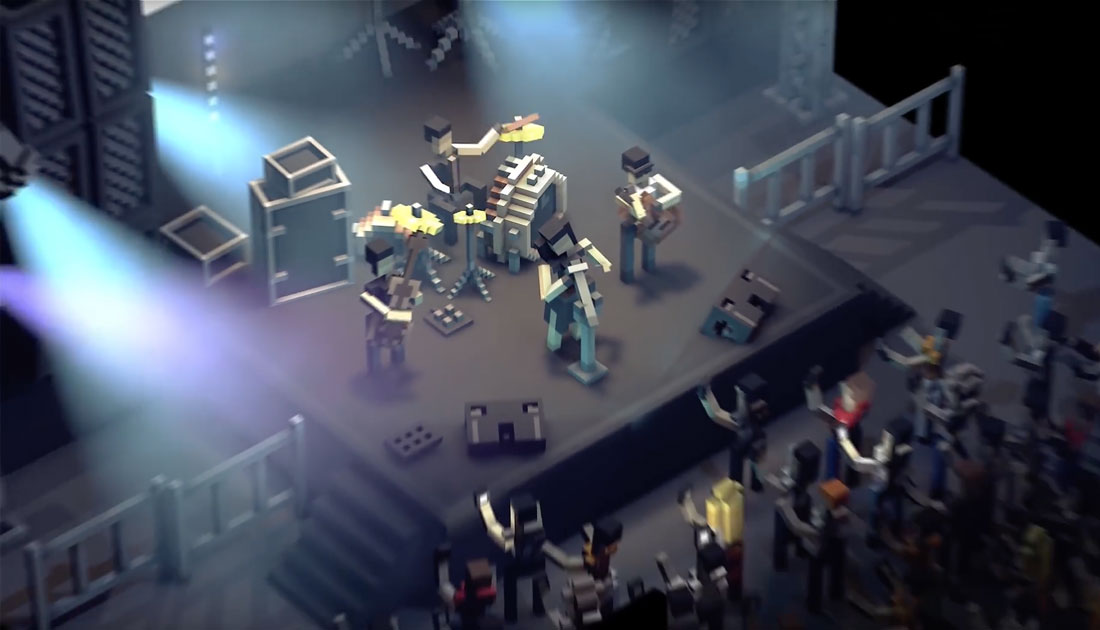
The japanese music group Project Mili contacted me to create a 3 minute clip based on one of their new songs called Mirror Mirror. It involved 4 different scenes (a stage, a restaurant, the backstage, and a kitchen) put together and lit one after another.
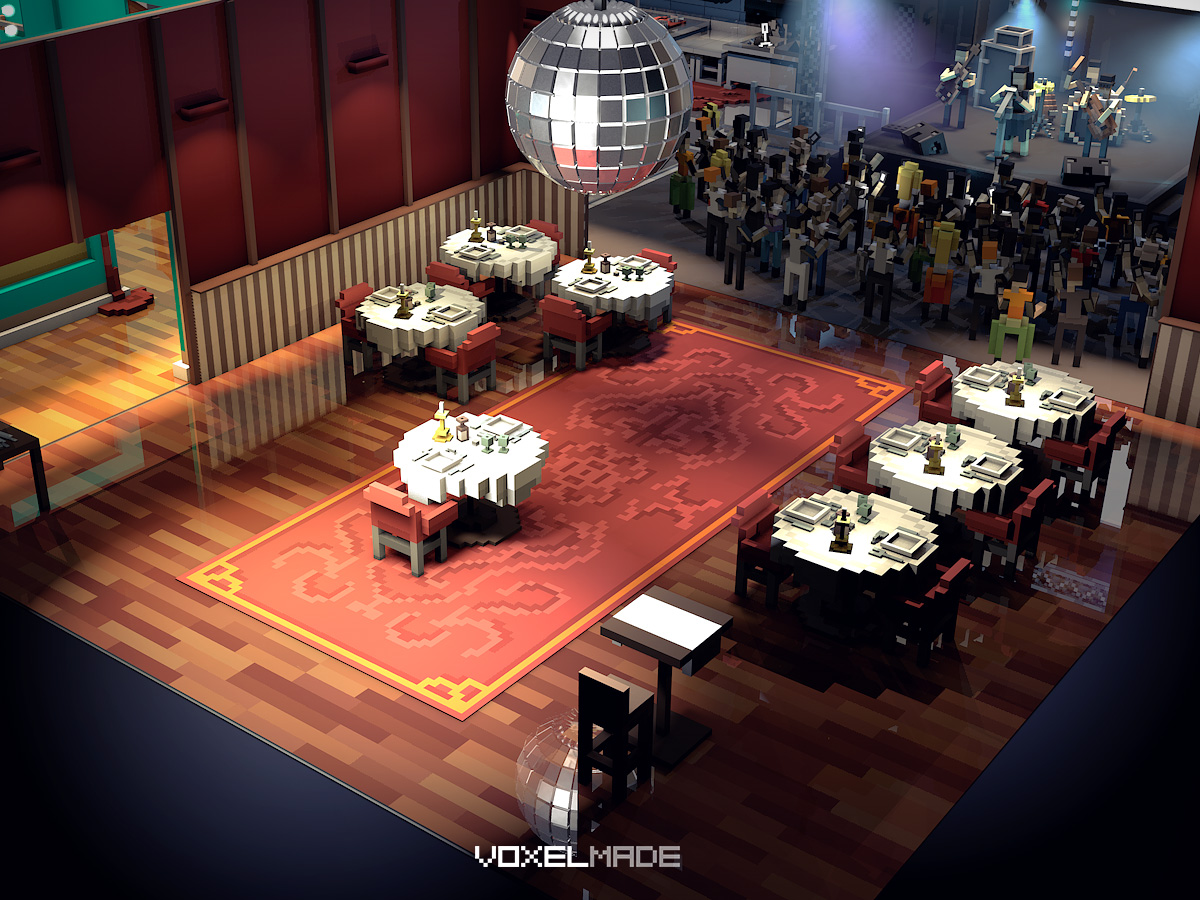
It was a pleasure to work with open minded artists like them, and animating voxels that way was challenging: each scene had its own lights and should not interfere with the others, but had to fit in the whole scene with a fly-through camera. The final video is shot in full HD and visible on their Youtube channel.
Workflow
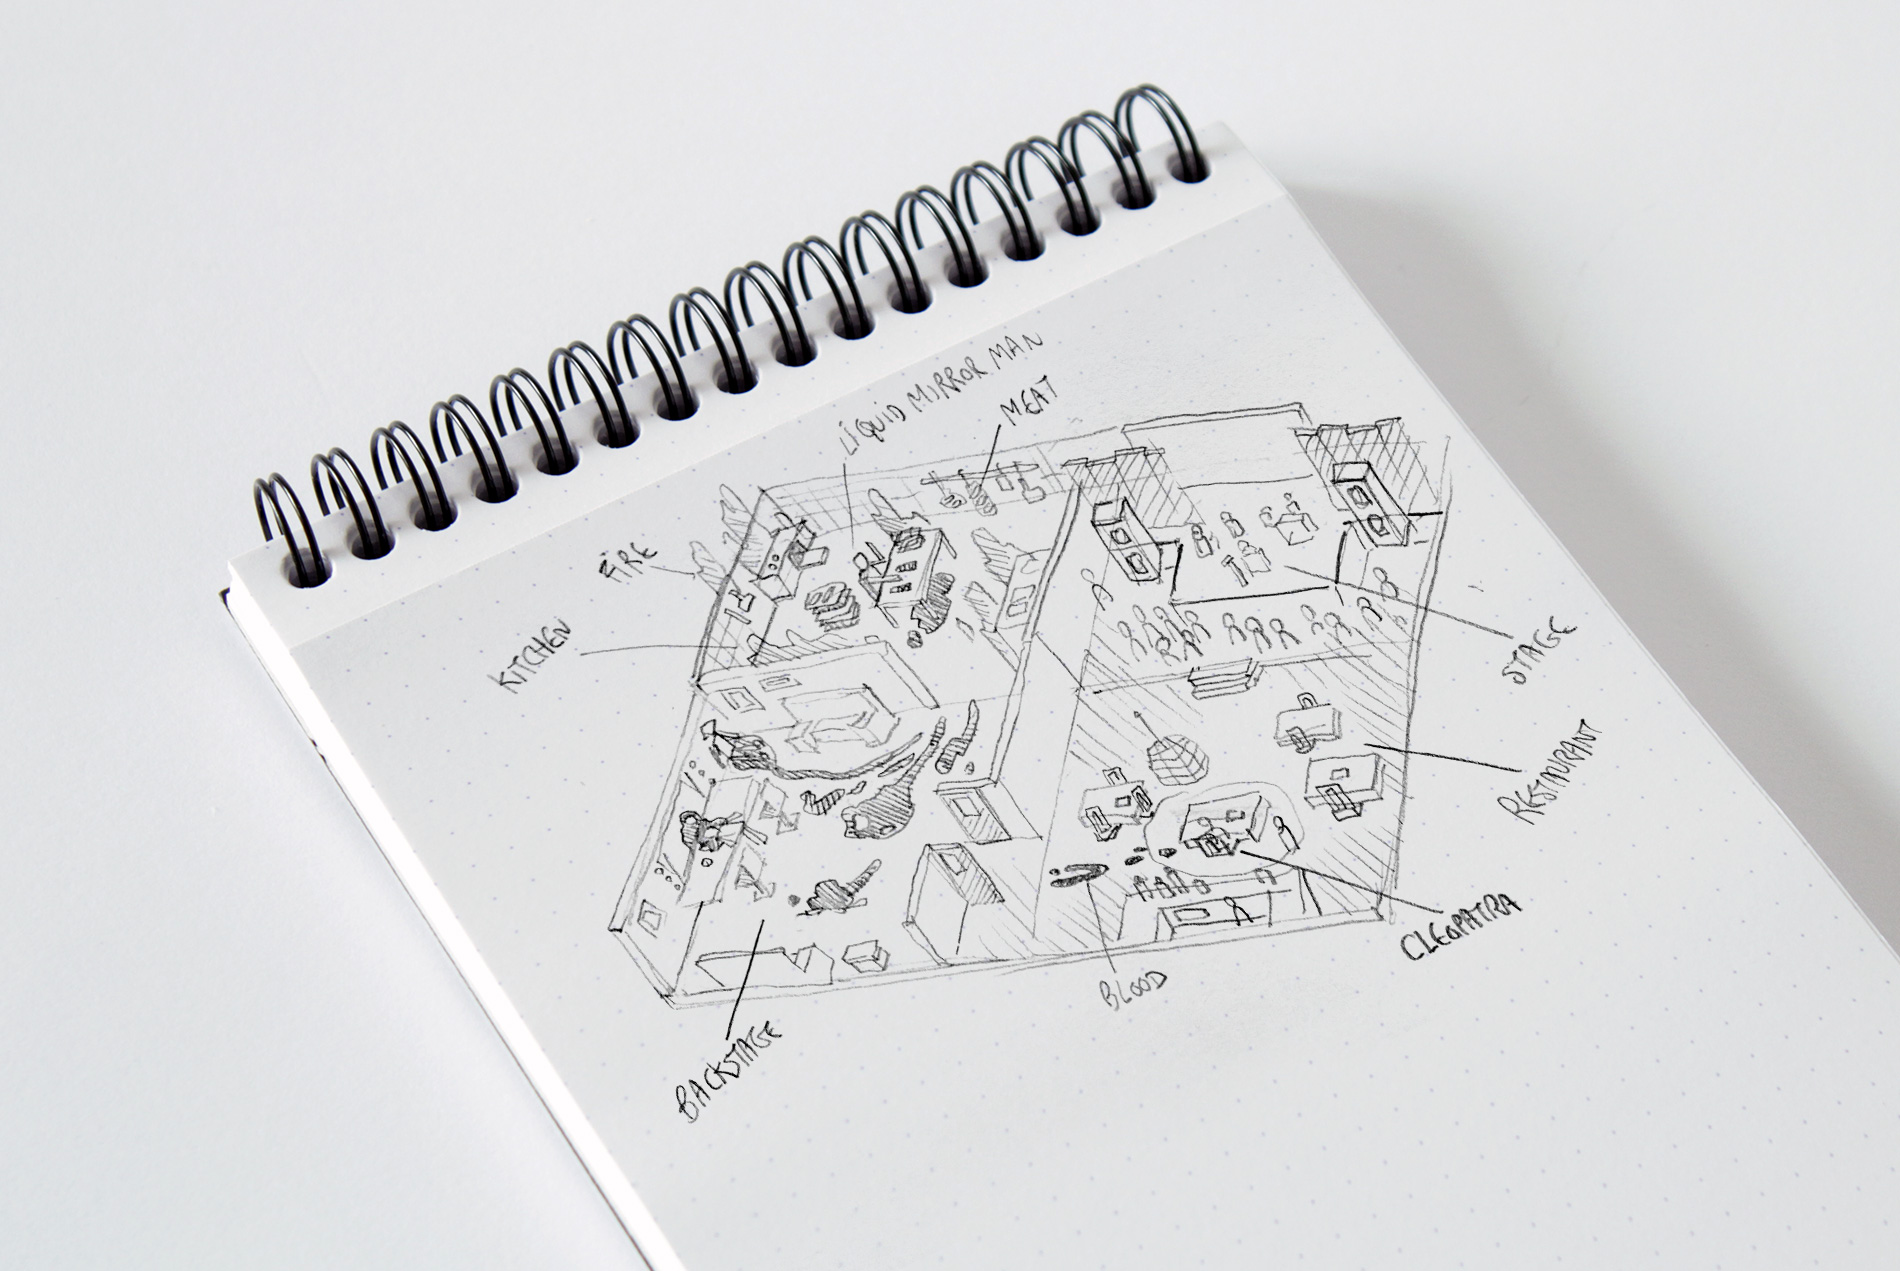
Before modelling anything, I sometimes like to put some basic sketch on paper first, especially with projects that involve different universes that should be connected together, like here. It’s always easier to start with a quick sketch than staring at a blank screen.
This doesn’t need to take long, a quick sketch will do the job. It should help you settle your mind on what you’ll need to create, and the important things to keep in mind.
Magicavoxel modeling
I won’t talk too much about modeling in Magicavoxel here, there’s a lot of tutorials about it and the process is quite simple. Do your thing, and… have fun in the process!
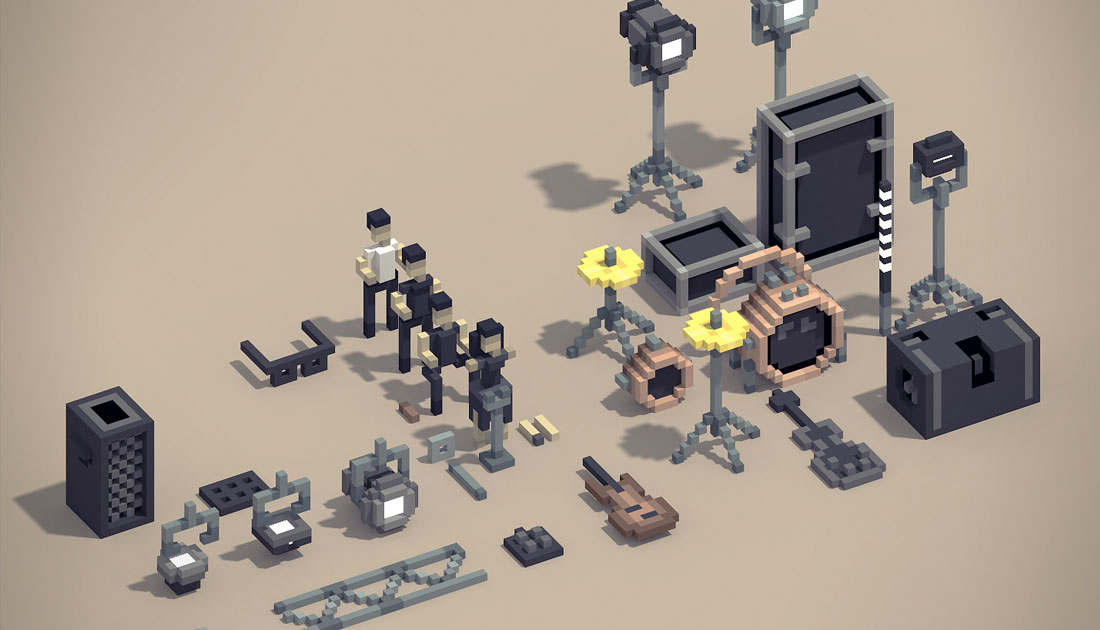
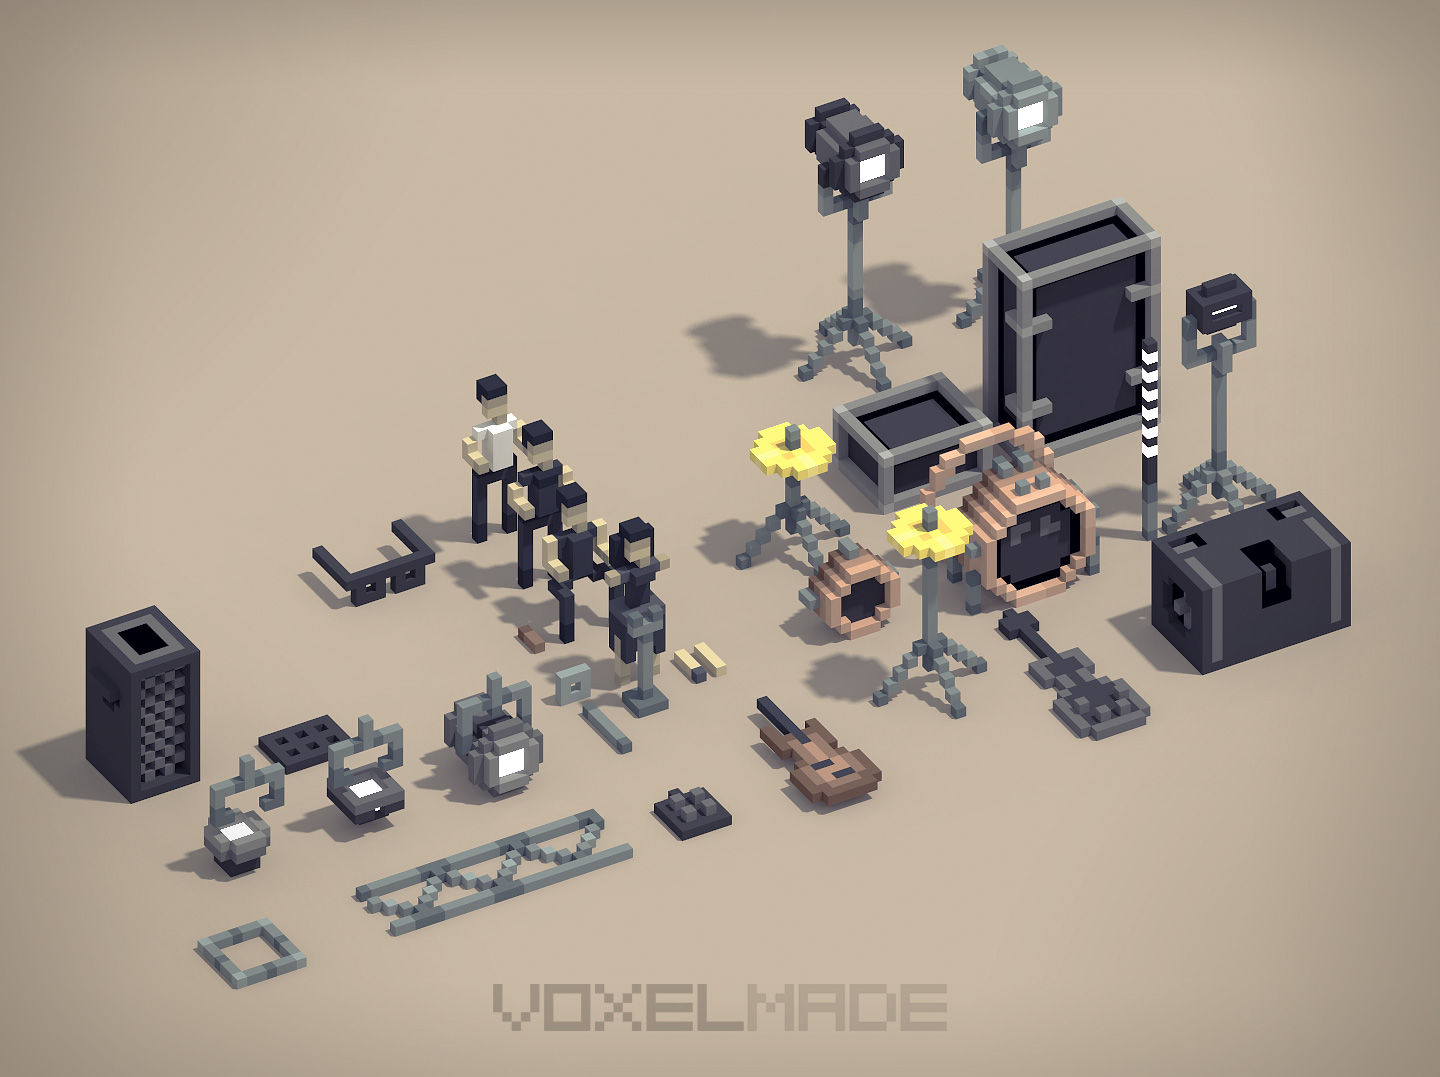
If you plan to use your models inside a 3D software, you should prepare them before exporting the whole thing. You’ll want to separate those models in different pieces, just like in a puzzle game: those pieces will be put together again in your favorite 3D software later on. The assets need to be separated, so that you’ll be able to move or rotate them, group them or even resize them later. This will lead to better organized projects, and will give you more freedom and creativity outside of Magicavoxel. My workflow is to isolate every model: that means no contact with anything: if someone is supposed to sit on a chair, separate both models, you’ll be able to group them again later, but this time with more control. Same thing applies if you plan to animate those things, like making people move. Just separate the body parts, head, torso, legs and so on.
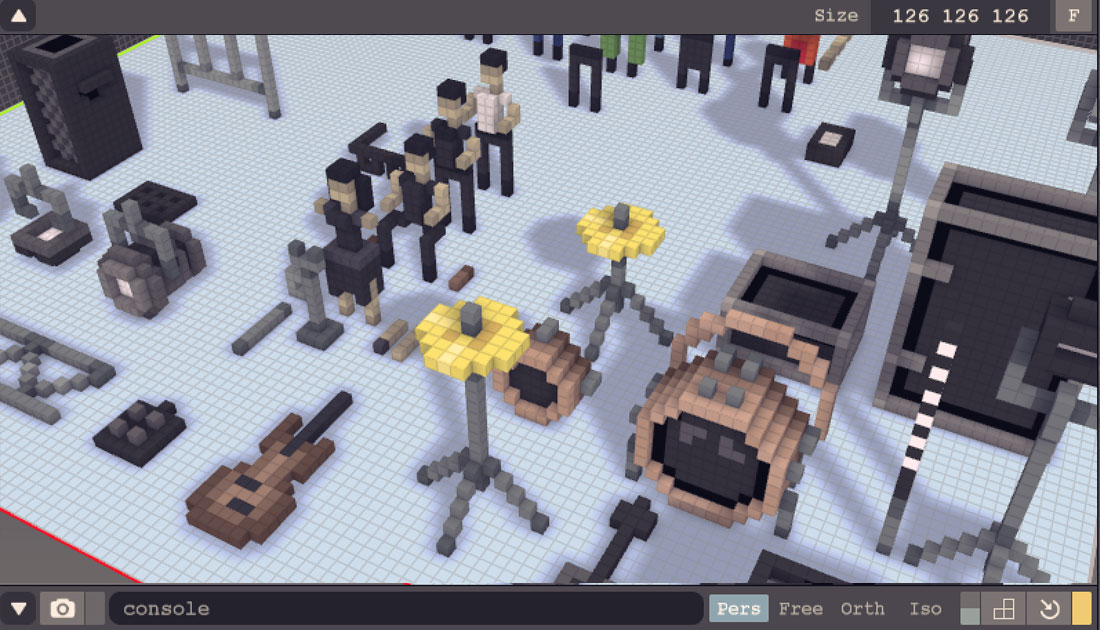
The asset within Magicavoxel
Feel free to use Magicavoxel’s animation tool: it’s a great way to store multiple assets, just remember to export each frame separately. This animation tool allows you to have some frames containing your whole scenes, and another one where you separated and isolated everything, ready for exporting them in OBJ.
One quick thing about the color palette: whenever possible, try to start from scratch and create your own palette for each project. I like to keep the first line clear from any color information, and use them for special effects such as glow, transparency, water surface and such… I can easily identify those slots in photoshop, and make various alpha channels with them… that may be usefull to add special reflections, glows or transparencies within a 3D software. That’s our next step.
Importing and preparing assets in C4D
Once you separated your assets in Magicavoxel and exported them in OBJ files, just import them in C4D (or any other 3D software that you like) and start playing with them: don’t forget to re-assign the texure, then feel free to re-arrange and multiply them. Since you can’t rotate your stuff in Magicavoxel, this is the perfect occasion to give your objects some life. Use the rotation to add life and randomness, but be careful if you plan to scale your models. Changing their scale could sometimes break the unity of your scene, so use this wisely, with low values.
Animating
There are many ways to give more life to your scenes and objects.
The first and easiest one is to rotate them one way or another. Voxel modelling can give quite rigid results: everything looks too straight and seems snapped to an invisible grid. Just give your models a little bit of rotation and you’ll gain some impression of life.
Another way of giving life to your scenes is – obviously – to animate them. Without even starting to rig anything, which is a time-consuming process, just think about adding some basic movements to your models.
On my project, I had to simulate a live concert. No time or need for complex rigging, so I used a vibration tag and placed it on every arm for each member of the crowd. Just give it low values in the rotation axis and your crowd will act as if it was alive! Don’t forget to change the random value for the various tags, so the people won’t make the same movements at the same time.
I used this trick for the scene lights too: the projectors are moved randomly, so the volumetric light that is parented to them moves accordingly.
The musicians are animated with a few keyframes, that loops after a few seconds. The singer is the only character with a very basic rig, 3 bones that allows me to give her some smooth dancing moves.
Placing various animated camera moves and switching from one to another is also very useful to keep your clip as dynamic as possible.
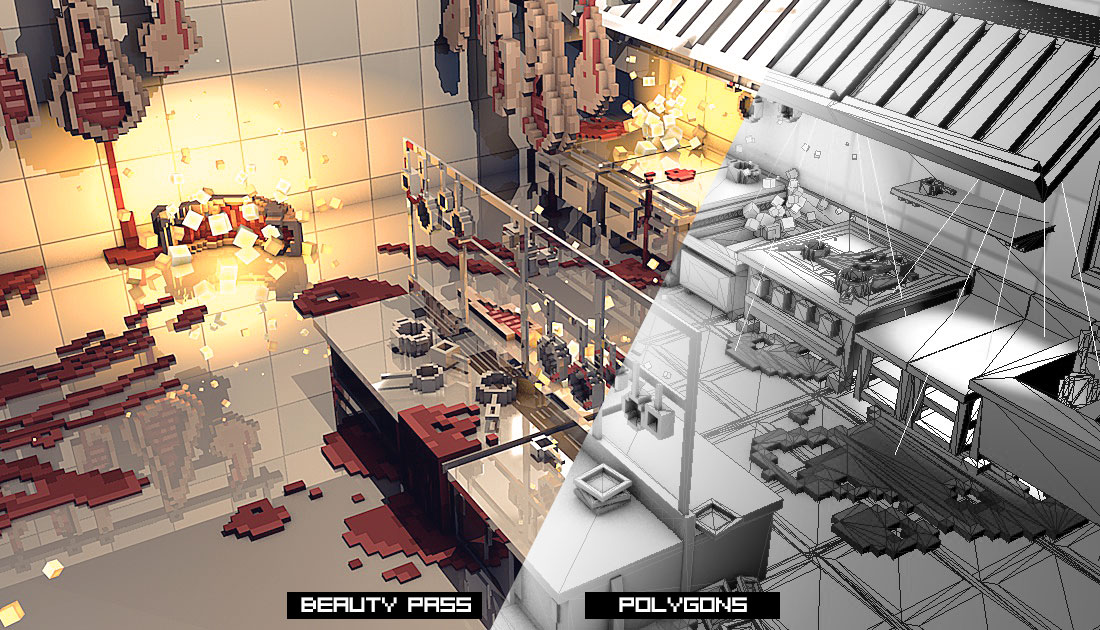
Below, the final render, once composited in After Effects. Don’t forget to check the animated result on Mili’s Youtube channel, and follow them for other great songs like this one 🙂
Duy
31 juillet 2018 at 15 h 30 minAmazing work 😀